My first thought was to add new drives and select RDM when adding. It looks like this does not work for local drives, or at least not for the local drives on this machine. The option was disabled.
I've already read about some command line options to do this, so that was my next step. This post has some directions for ESXi 4.1, which also worked on ESXi 5.1.
The first step was to enable SSH access. I had to go to the physical server, access the settings, go to "Troubleshooting Options," and enable SSH access. Then I was able to ssh in using Putty.
The command to create the RDM VMDK is:
#vmkfstools -z /vmfs/devices/disks/<name of disk> /vmfs/volumes/<name of local volume>/<make a raw disk name>.vmdk
For me, a command was:
# vmkfstools -z /vmfs/devices/disks/t10.ATA_____WDC_WD30EFRX2D68AX9N0_________________________WD
2DWMC1T3154102 /vmfs/volumes/250GB\ datastore/WD_WMC1T3154102.vmdk
This assumes that the raw disk was t10.ATA_____WDC_WD30EFRX2D68AX9N0_________________________WD
2DWMC1T3154102 and the spinning disk was mapped to /vmfs/volumes/250GB\ datastore/
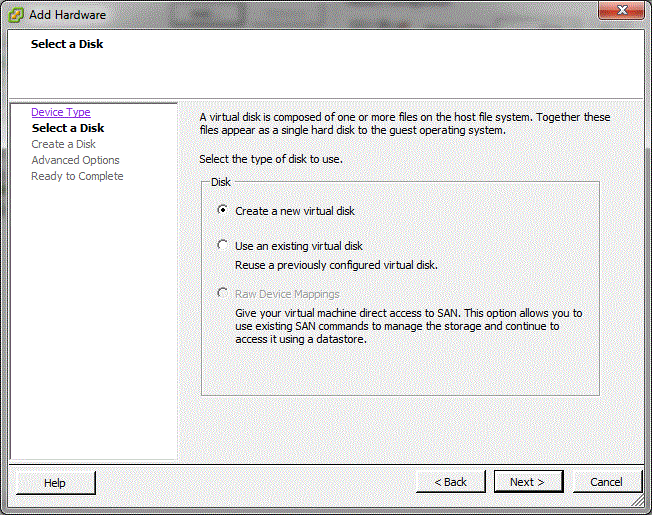
Then, I was able to go to the VM, add a disk, select "Existing Disk," and browse to the new vmdks. By default, when selecting "Existing Disk," my datastore was listed. I had to browse into it to see the vmdks.

The post that I referenced suggested putting the RDM disks on a new virtual SCSI controller. I did that in the nest step by selecting SCSI controller 1:0. I also selected Independent Mode, Persistent. Independent means that the disk is not included in snapshots. So if I took a snapshot of the VM, the RDM disks would not be included. If I revert the VM, the RDM disks will not change. Persistent means that changes to the files get written to disk. Non-persistent means that changes are lost after a reboot of the VM. That would be very bad for a NAS.
I powered on the OpenMediaVault VM after I added the four drives as SCSI 1:0, 1:1, 1:2, and 1:3. I logged into the web interface and was able to see the new drives under Storage | Physical Disks.
The next step is to add and configure the RAID. I haven't decided if I'll use RAID 5 for ~9TB or RAID 10 for ~6TB. Since I don't need the high throughput of RAID 10, I'll probably stick to RAID 5.